
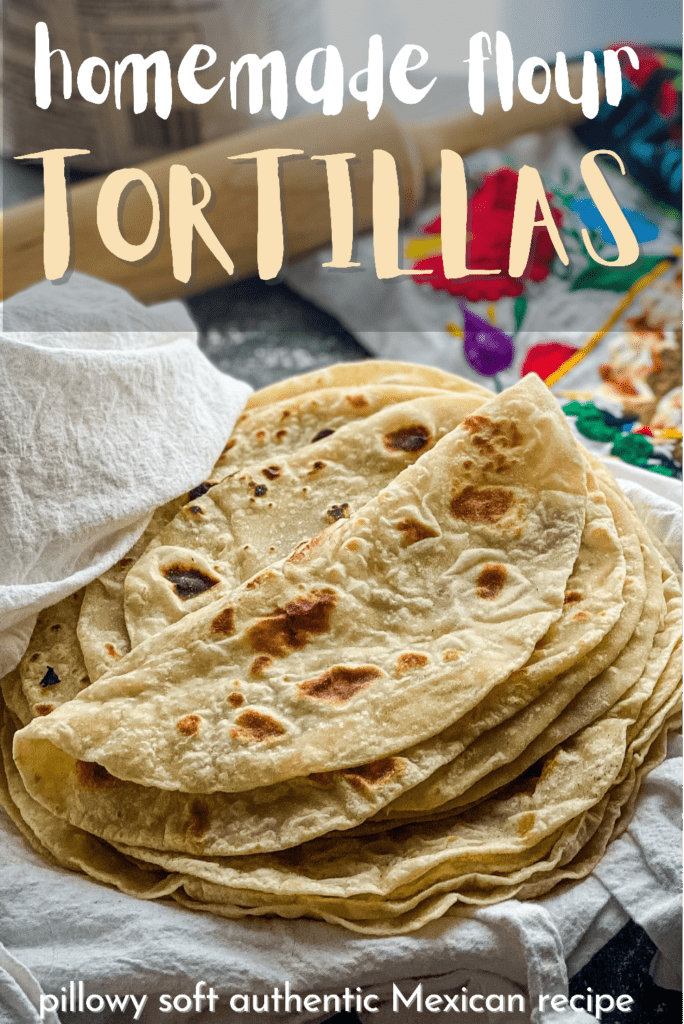
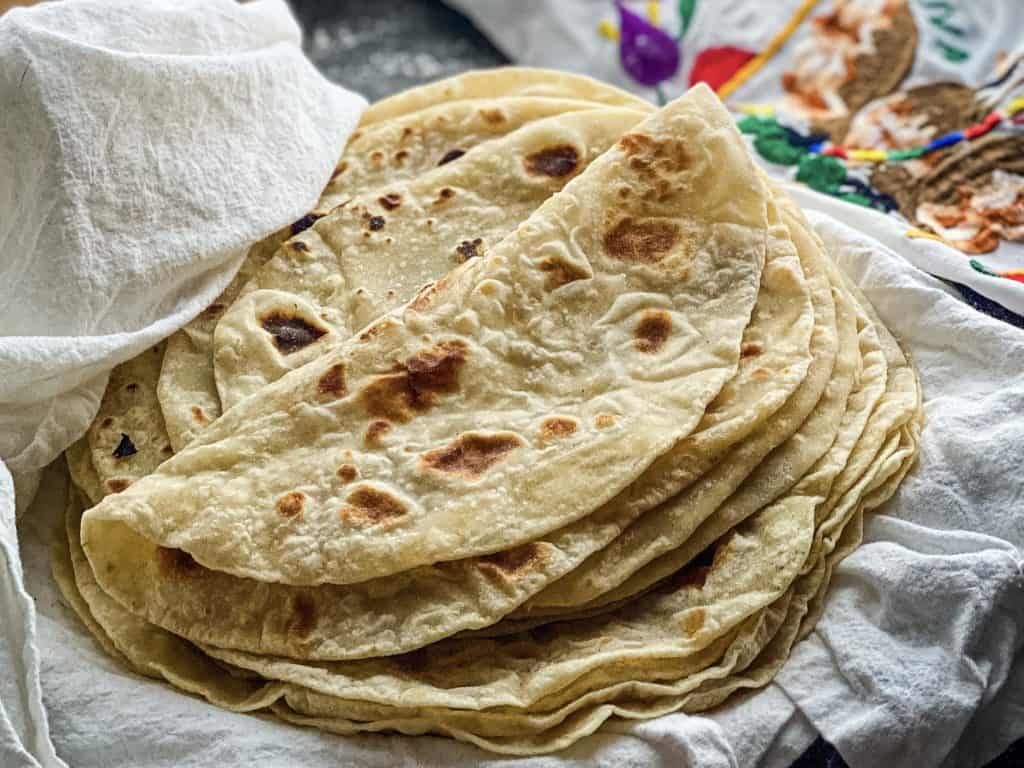
Homemade vegan flour tortillas that are pillowy soft, easy to make, and bring the authentic taste of Mexico into your home kitchen.
Every time I make flour tortillas, I get tons of requests from people for the recipe.
The problem is that I was taught to make them in a traditional way, which is *without* a measured recipe. I was taught by the women I lived with as I traveled throughout Mexico, and each and every one was adamant that the main ingredient was love, and that you measure with the heart – con el corazón.
So with that in mind, I’m going to do my best with this post to honor them by teaching you the same way that they taught me and that I taught my Hispanic daughters.
PLEASE NOTE THAT IM NOT CLAIMING THIS IS THE ONLY AUTHENTIC RECIPE. EVERY FAMILY HAS THEIR OWN RECIPE AND MIGHT SWAP THE FAT FOR BUTTER OR OIL OR ADD IN OTHER INGREDIENTS THAT ARENT IN THIS RECIPE. THEY ARE JUST AS AUTHENTIC AS THIS ONE!
Authentic flour tortillas start with simple ingredients
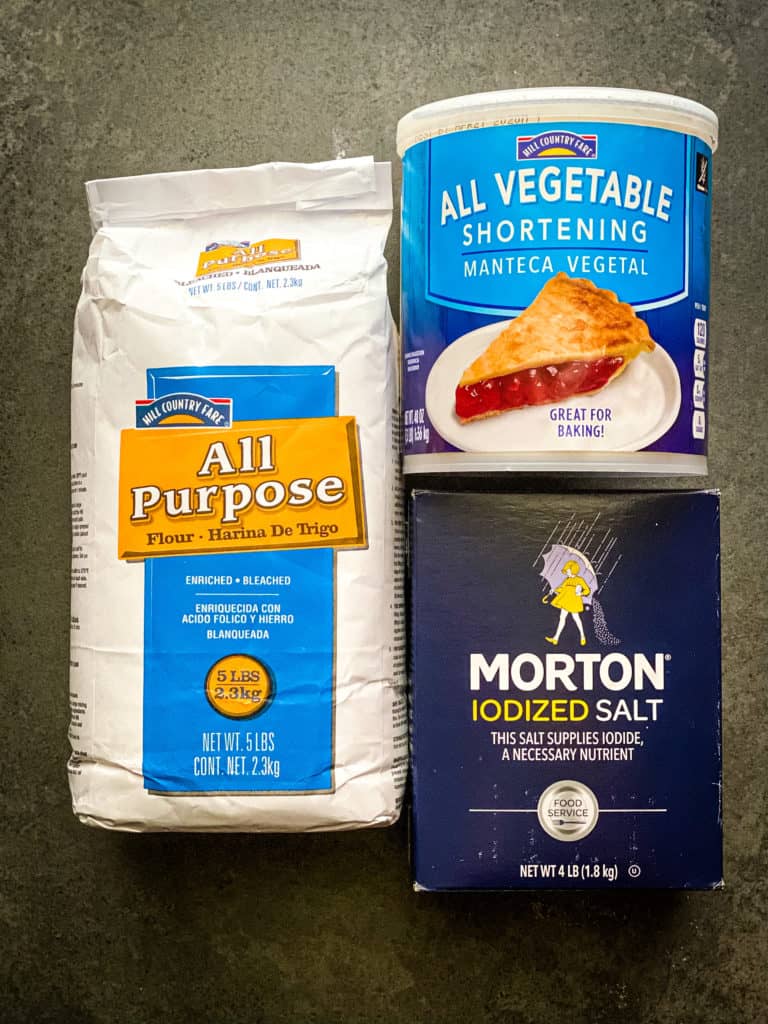
Every woman who led me in making flour tortillas only used four simple ingredients:
- Harina de trigo (all purpose flour)
- Manteca (lard)
- Sal (salt)
- Agua caliente (hot water)

A lot of recipes include baking powder, but I was taught that baking powder will make your tortillas easily get crispy instead of soft and burn faster (not to say that it’s wrong, just that it’s easier without it).
Many years after these lessons, my friend Amy Rice shared with me a REALLY COOL experiment using marshmallows and baking soda demonstrating a bit of science known as the maillard reaction.
The maillard reaction is basically browning in the cooking world. It’s when you heat things up and they brown – not burn. So the crust on bread? Maillard. Bagels getting that lovely brown skin? Maillard. Roasting coffee? Definitely maillard. If you’re a science junkie like I am, you can read more about it here.
Not just breads, but meats and beans and grains – anything with both proteins and sugar together – also have this reaction when they’re heated up. And you can help it along with a bit of.. baking soda. And baking soda is a main component of baking powder.
So a decade after I was first given this sage advice about baking powder making crispy brown tortillas, my friend Amy finally gave me the lightbulb “AHA!” moment as to why. It’s science!!
Measuring without exact measurements
Measuring without cups or grams might seem really scary if you’ve never done it before, but with practice you can become a pro. You’ll begin to feel when the dough is right. You’ll know if it needs more of this or more of that because the dough is too crumbly or stretchy or sticky. It’s so freeing to untether yourself from your scale and cups!
But then my recipe won’t be consistent!
Actually, your recipe will be more consistent. Because you’ll be making it without relying on the weight or cups, you can pivot and adjust based on temperature and humidity changes in your kitchen. On a rainy day, you might not need as much water. On a hot and dry day, you might need more water but less lard.
If you’re only relying on the number that the scale or cup is telling you, your results will vary depending on your ever-changing surroundings. Many of the homes I lived in throughout Mexico had open outdoor kitchens, and we were at the mercy of the weather – a by-the-gram recipe would not have worked consistently.
So make sure to wash your hands really well before starting, because we are gonna get them dirty!

Measuring the flour for the vegan tortillas
We bought our flour in 1 kg sacks. (That’s a little over 2 lbs)
Rather that measuring by the cup, we would pour about half the sack of flour into a large bowl. That comes out to 3-4 cups of flour. And it’s enough for around 16-20 tortillas, depending on how large you make them. If you’re in the US and using pounds instead of kilos, go ahead and use a 1 lb bag of flour or go ahead and roughly measure 3 heaping cups. DONT TRY TO BE EXACT. 😉
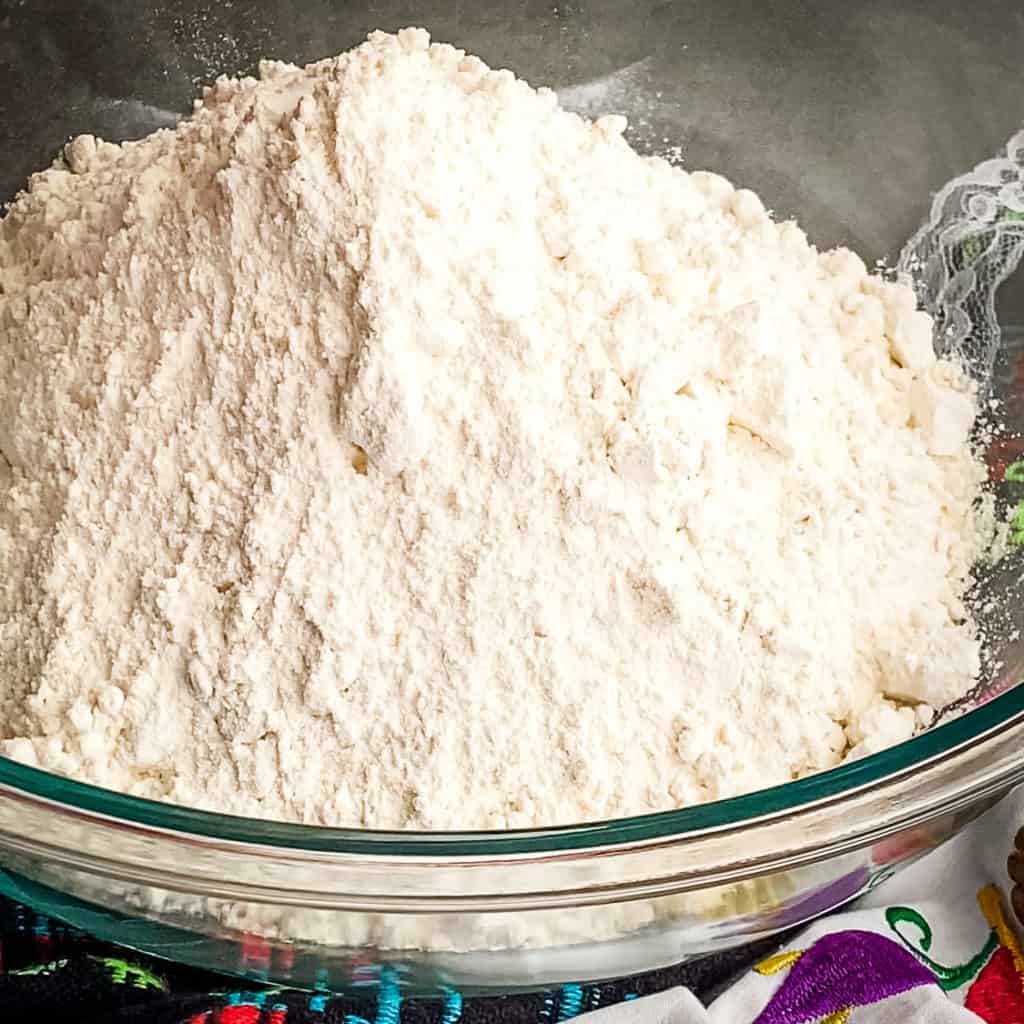
Give the flour a good whisk around with your fingers to check for any stones or weevils that might have snuck in (weevils can appear even in the cleanest of kitchens. They lay eggs in the grains and hatch when the temperature is right).
Measure in the salt
Pour the salt into the palm of your slightly-cupped hand until it forms a small mound. This should be around a teaspoon. Toss it into the flour.
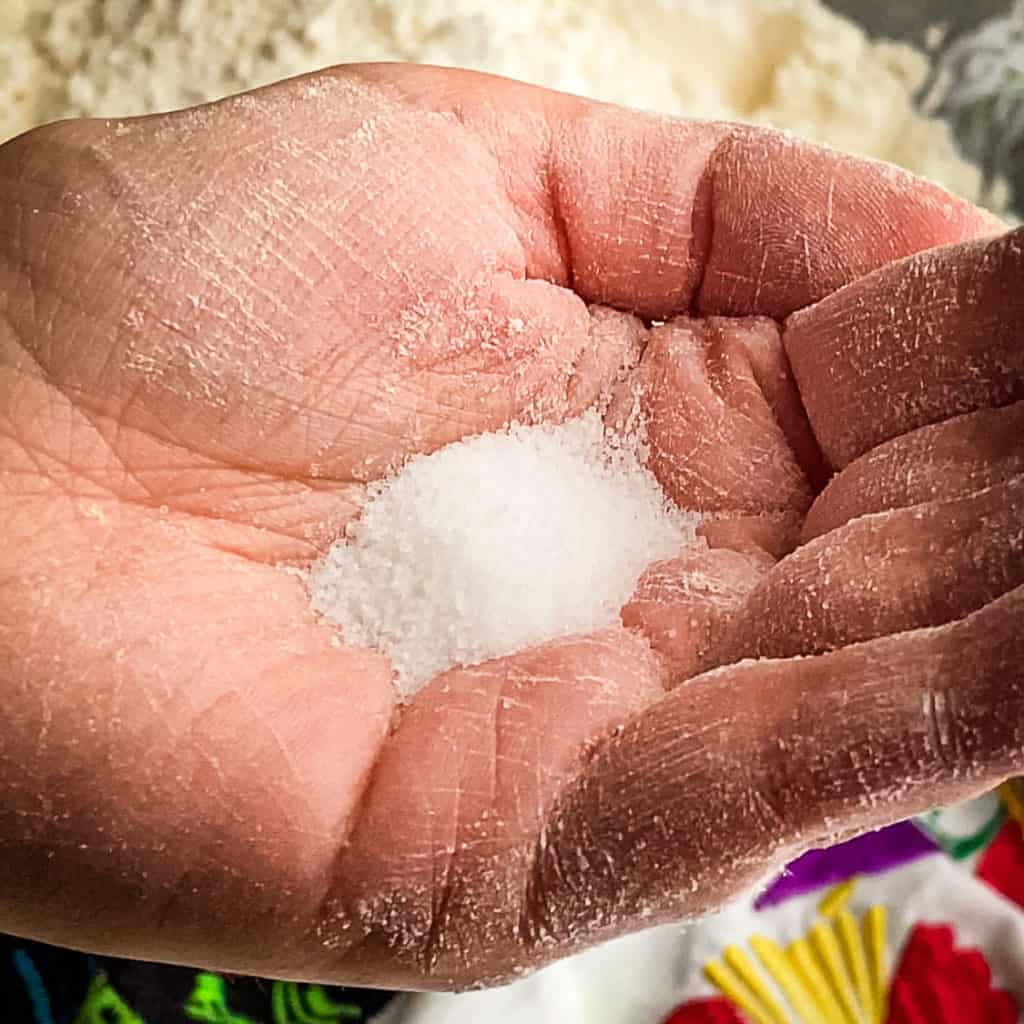
Give the salt and flour a quick toss with your hands to make sure everything is evenly distributed and incorporated.
Measuring the lard – WAIT, LARD?! I thought these were homemade VEGAN flour tortillas!
Yes, lard! Except we are using vegan lard – known also as vegetable shortening. The big brand name for this is Crisco but there are plenty of store brands out there that are just as good.
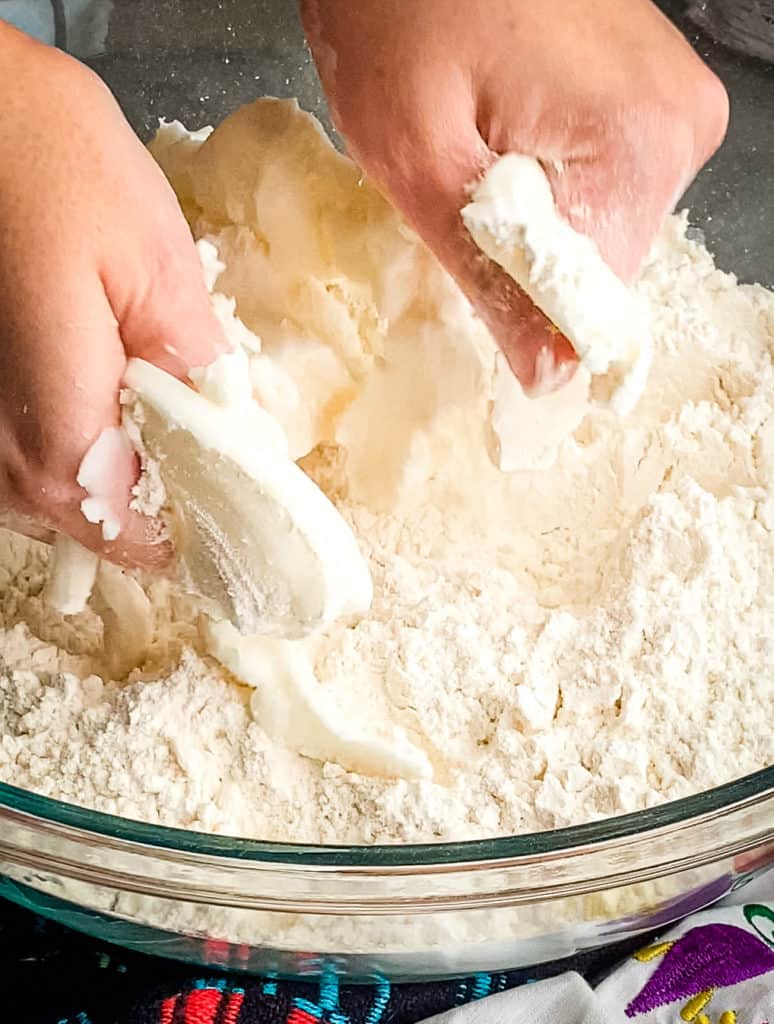
To measure this, we are literally going to grab handfuls of it. This is when it gets fun!!
With your fingers slightly curled like you’re signing an ASL “c”, gently press them into the shortening (which should be room temp) and swipe towards the inner wall of the container, picking up shortening as you go like an old fashioned ice cream scoop (actually, if you really can’t deal with doing this with your hands you can totally use an ice cream scoop instead).
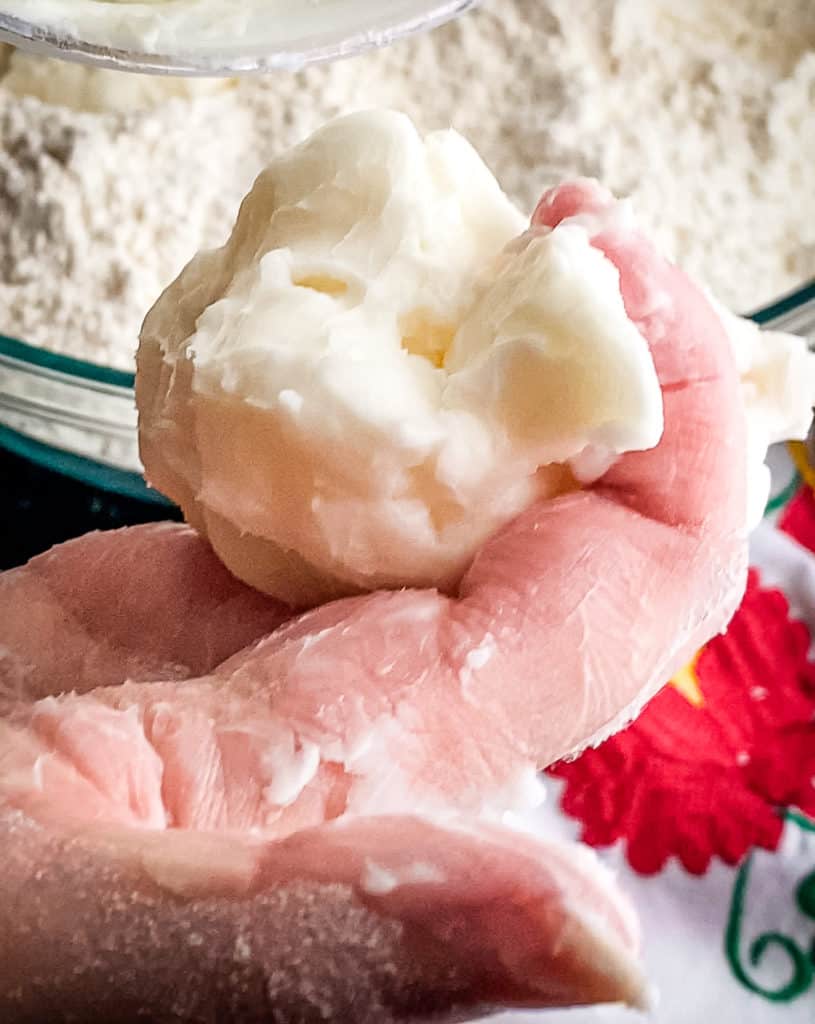
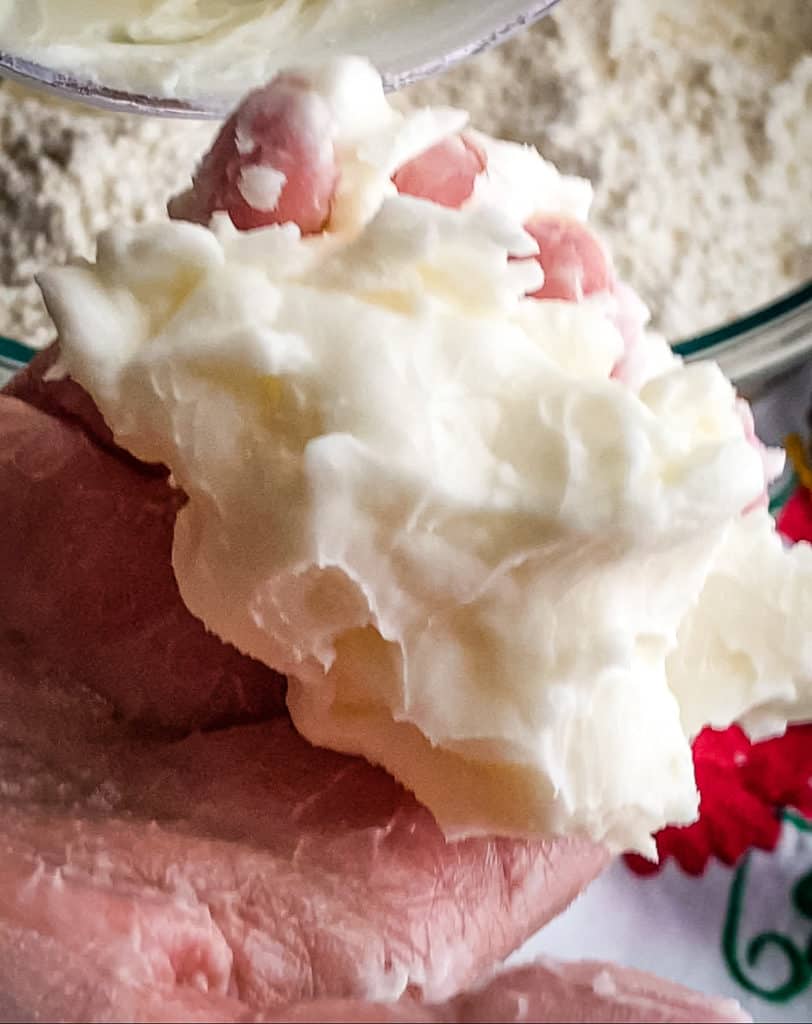
Fill the curve of your fingers with shortening until you hit the crease where they connect with your palm. Add it into your flour, and do it again. This should be around 1/2 cup, but again – we aren’t measuring exactly. We will know in just a minute if it’s enough.
Cutting the lard into the flour
Now comes my favorite part! Prepare for your wrist and forearm muscles to get worn out – but for a good cause!
You’re going to work your way around your flour/lard mixture and squeeze any bits of lard so they squish through your fingers. Once you have bits too small to squeeze through your fingers, start hunting for big pieces and rub them between your hands to break them up.
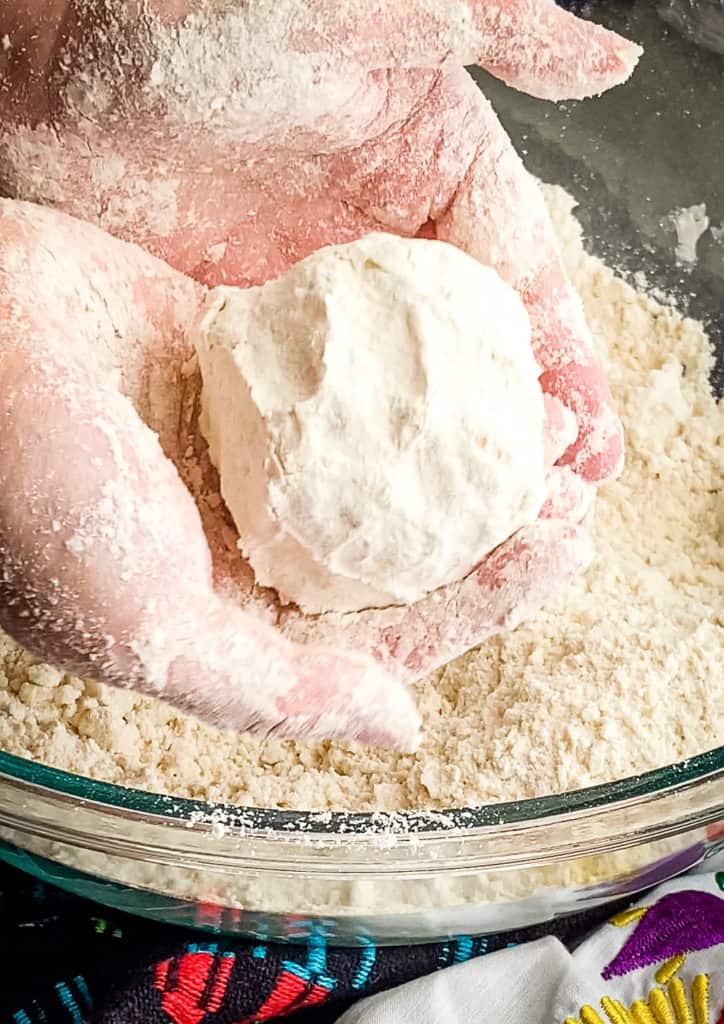
Keep going until the lard and flour have become one homogenous mixture that resembles coarse sand or cornmeal. You should be able to squeeze some into a ball by gently pressing it together, but if you poke or move it it will crumble.
If the squeezed-together mixture doesn’t fall apart easily when you poke it, there’s too much lard. Add a couple of handfuls of flour and repeat the mixing/squeezing process until perfected.
If you can’t get it to squeeze together into a ball, you need more lard. Add the fat by two small fingerscoops (covering only the last section of your fingers with lard in your scoops instead of your entire fingerlength) at a time. Repeat the mixing/squeezing process until perfected.
Water – too hot to handle
Hot water helps ensure soft, flexible tortillas! Don’t be fooled into thinking you can get by with a bottle of room temperature water or really warm water from the tap. Boil it.
I put my electric kettle on before I pour the flour so that it’s ready to use when it’s time. I have an electric kettle because I’m in enough English groups on Facebook to know that no home should be without one!
When I was in Mexico though, we would just put a small saucepan full of water on the stove and let it heat up as we were mixing the flour and manteca.
Slowly pour in your boiling water. Do a cup or so. Use a spatula to stir it around a bit. Does it come together into any sort of dough? No? Add more water. Keep doing this until you stir it and a dough comes together. If you end up adding too much water, knead in a little more flour until you don’t have a wet mess.
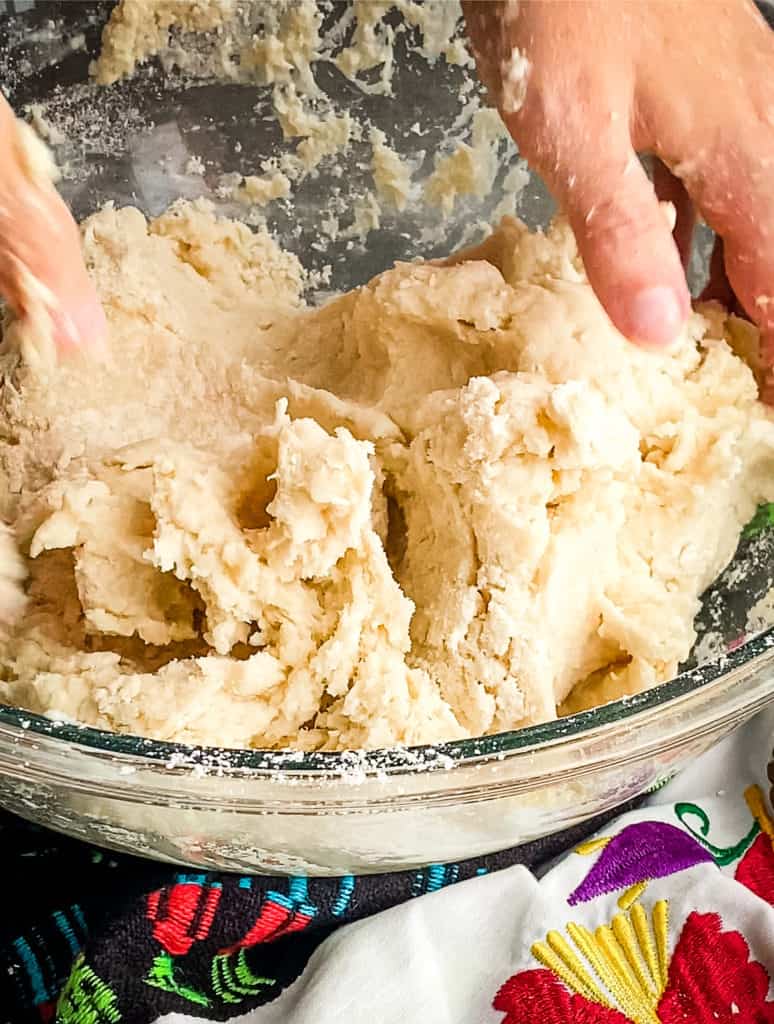
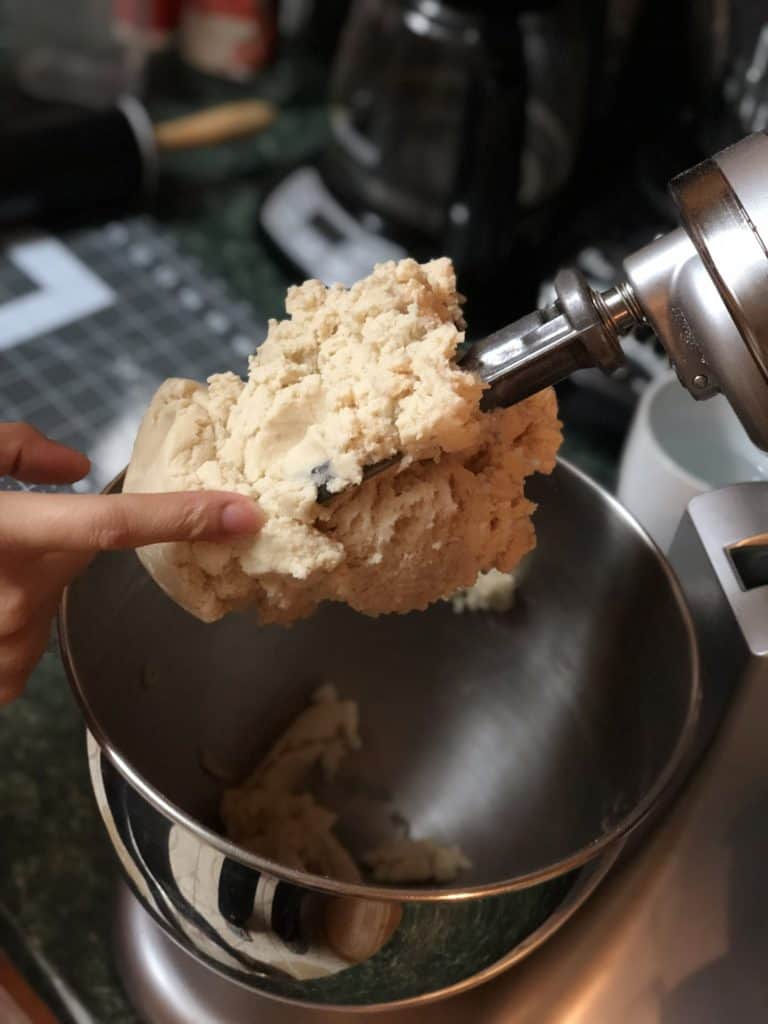
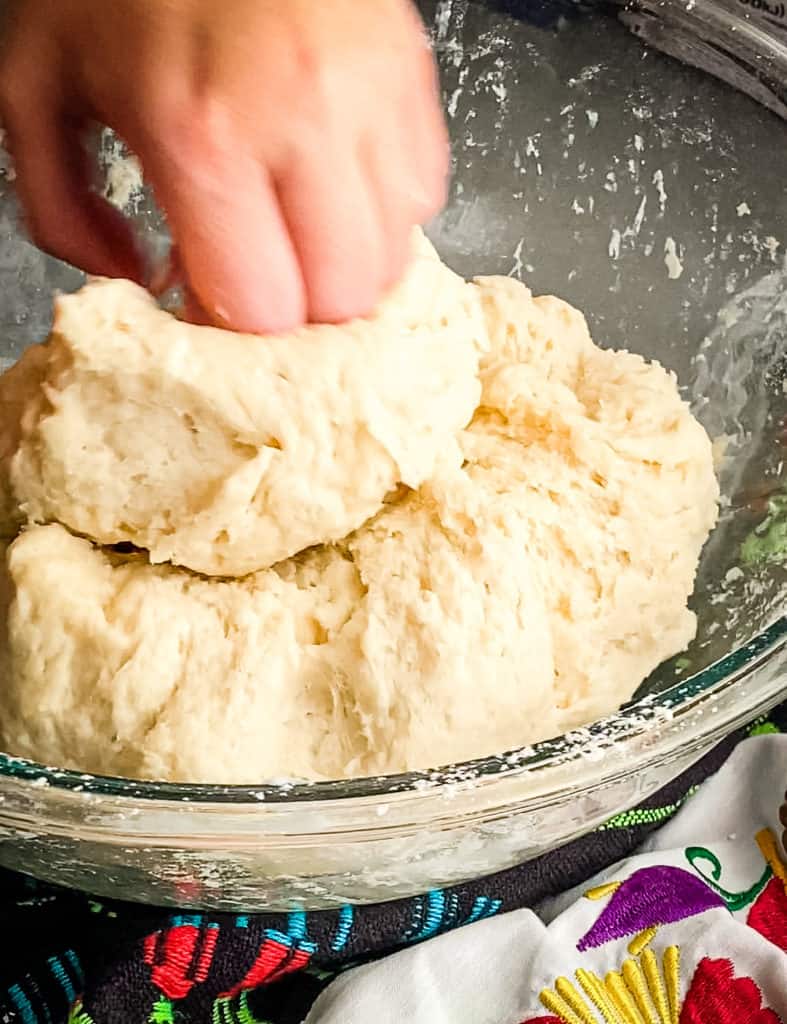
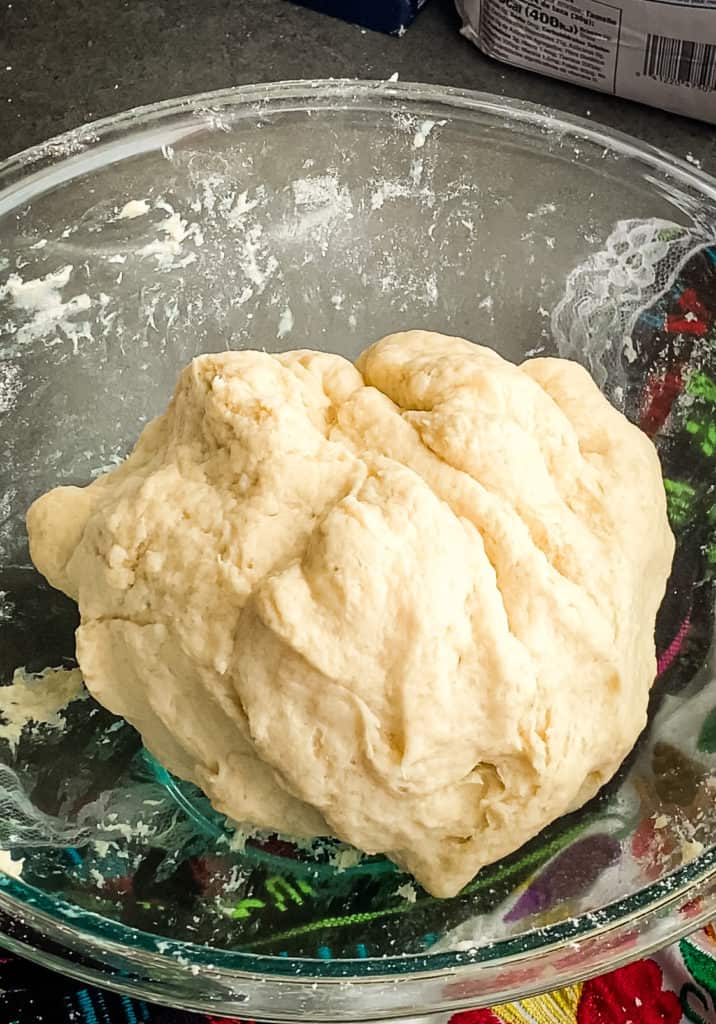
Kneading the homemade vegan tortilla dough
I like to knead my dough in the mixing bowl. It’s less mess for me, and I like my mixing bowl to earn its keep.
Be careful to make sure it isn’t boiling hot when you stick your hands in. It’s ok to let it sit for a few minutes before you do this to be on the safe side.
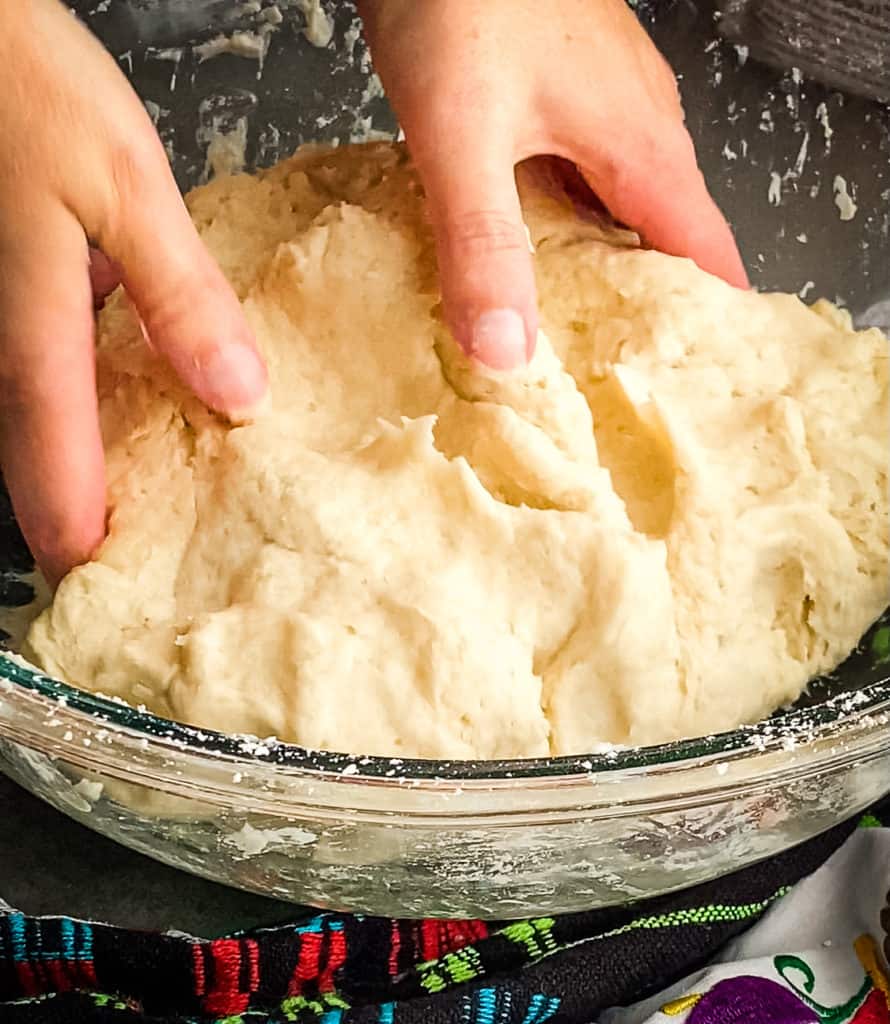
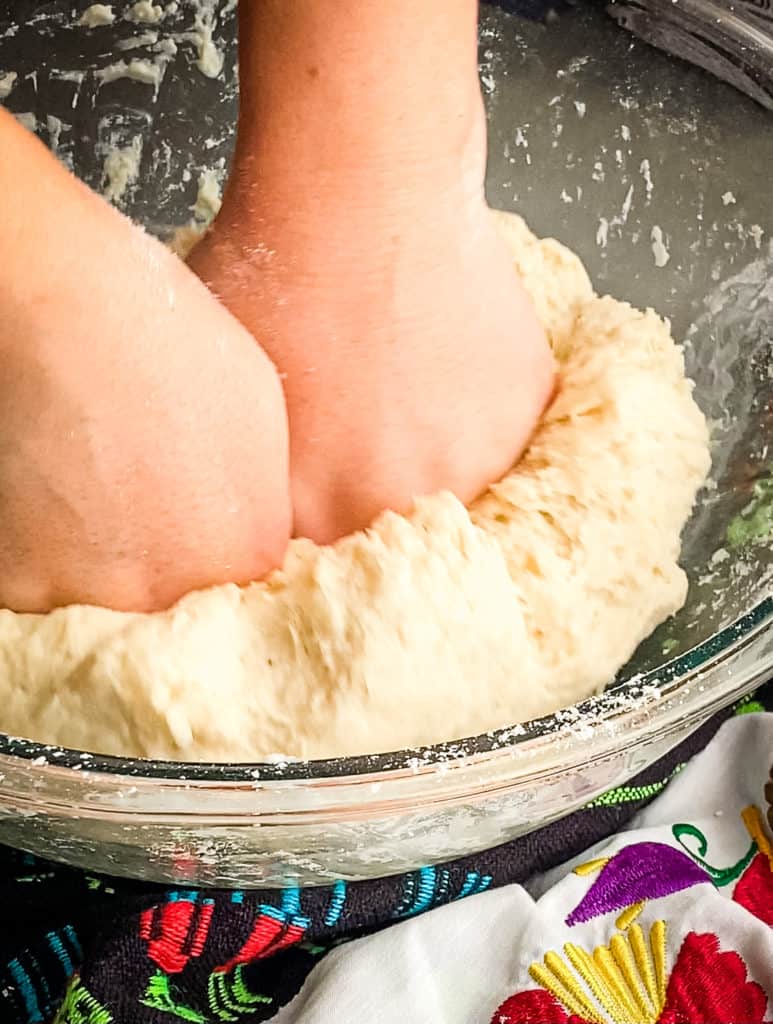
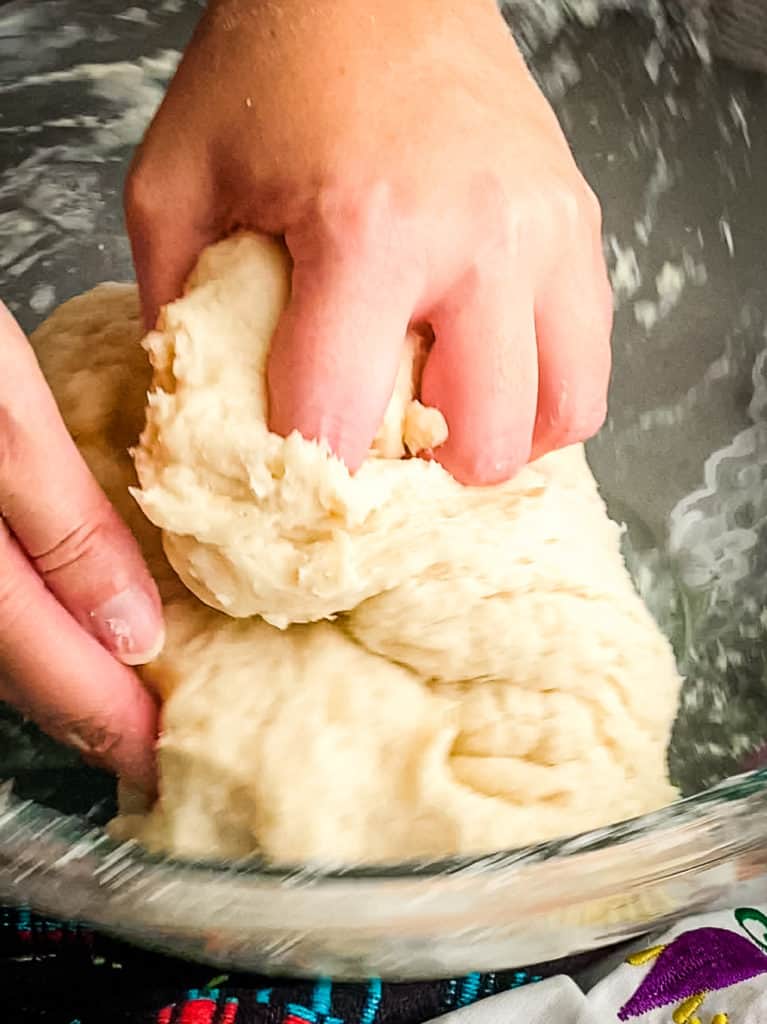
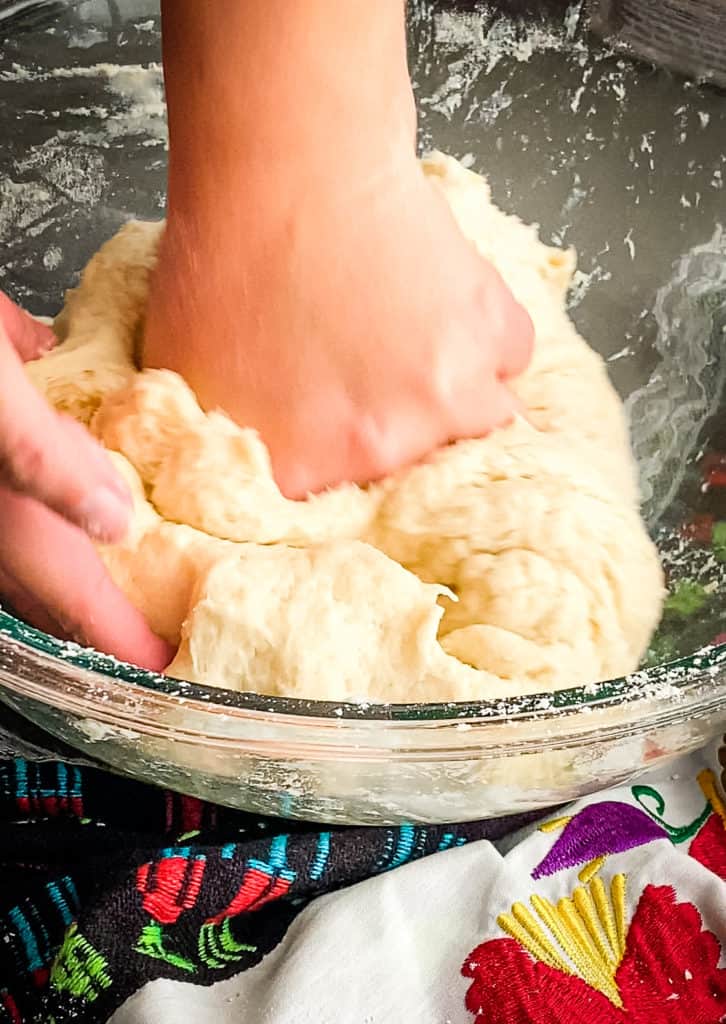
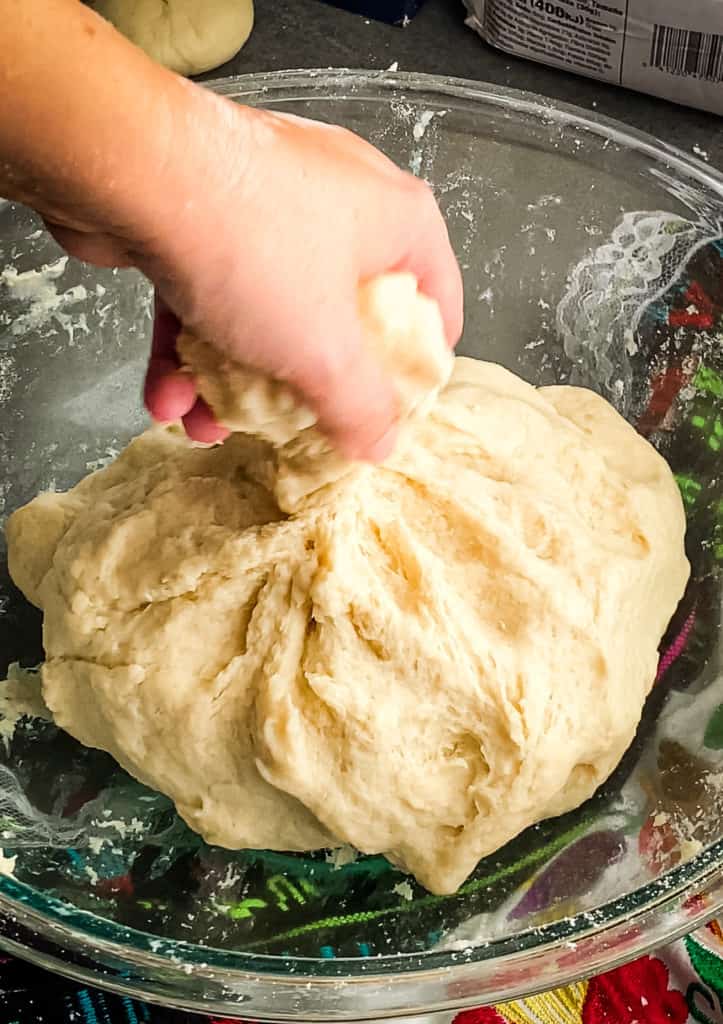
To knead it, lift one half, fold it over on top of the other half, and press it in.
Then, rotate the bowl 45 degrees, lift the bottom half of the dough and fold it over the top half, and press it in.
Repeat this process for 4-5 minutes until you have a nice, smooth dough. It shouldn’t stick to your hands, but it shouldn’t be firm either – it’ll be a very soft dough. It has some stretch, but tears pretty easily. It actually feels pretty wonderful to squish, poke, and handle.
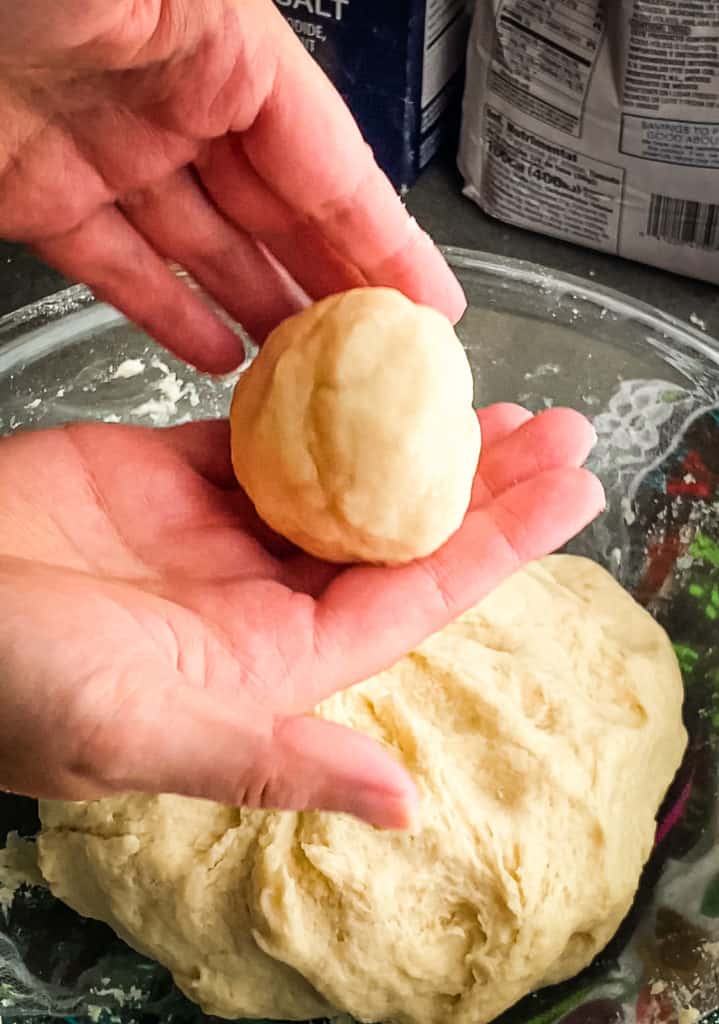
Dividing the dough
Grab golf-ball-sized handfuls of dough and gently twist them off.
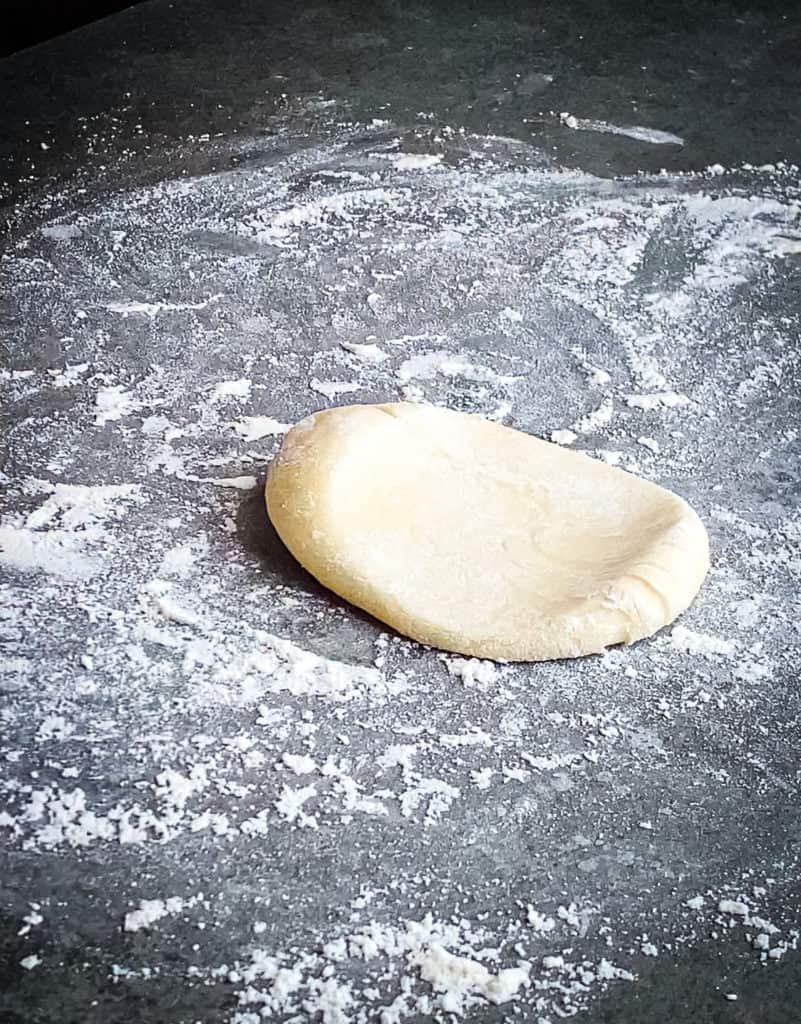
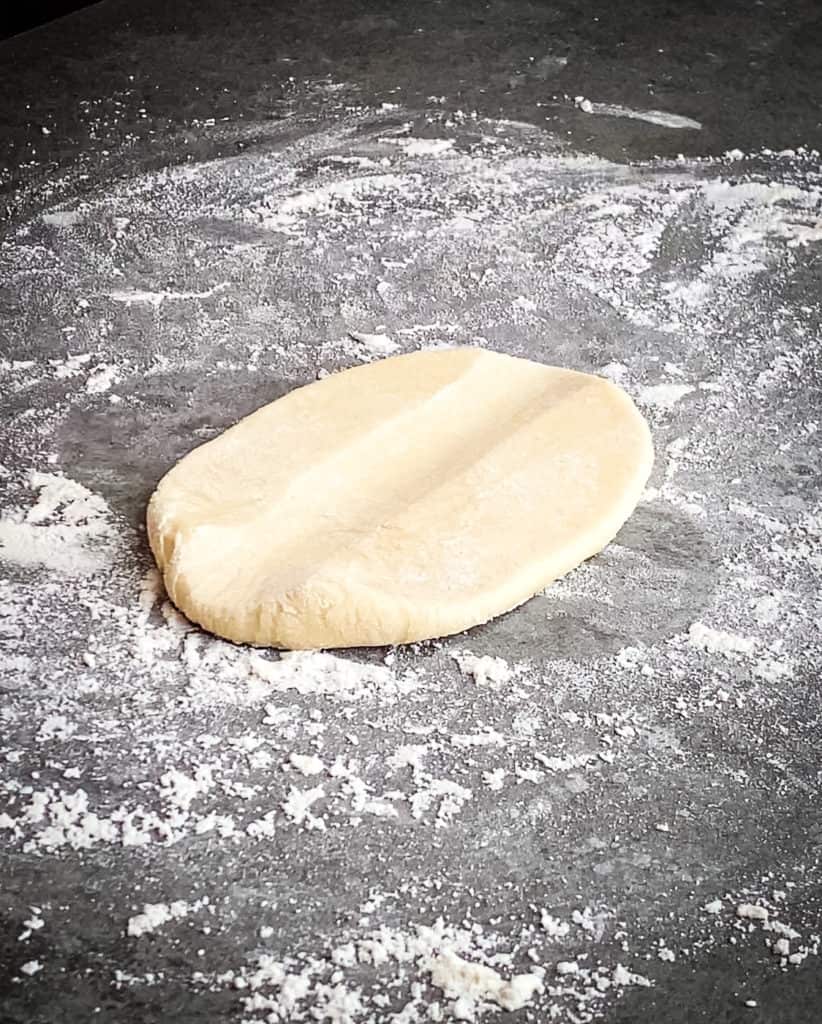
Roll each one between your hands to form a sphere shape, but very slowly and gently squish down as your spin your hands so you have a very fat pancake at the end. It’ll have a pretty little swirl in the middle if you do this correctly. Try to get the outside as close to a perfect circle as you can, with no big lumps or bumps anywhere.
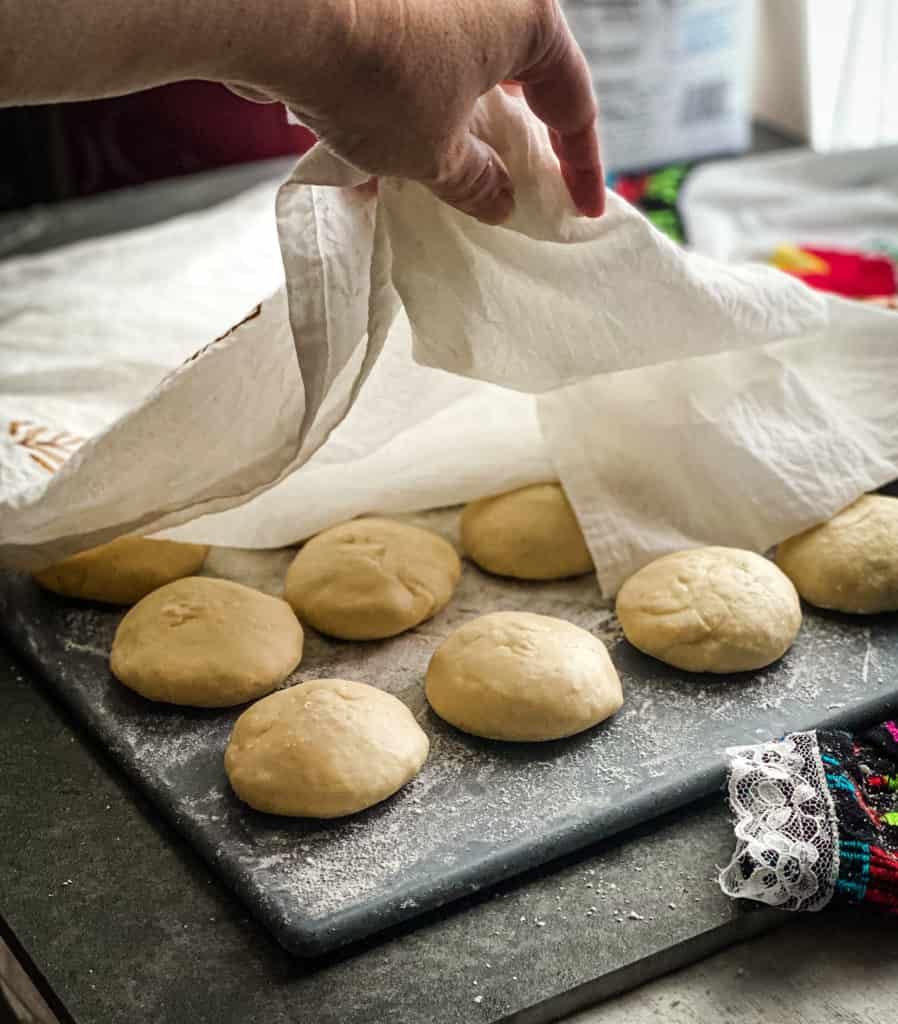
These fat little discs are called “testales”.
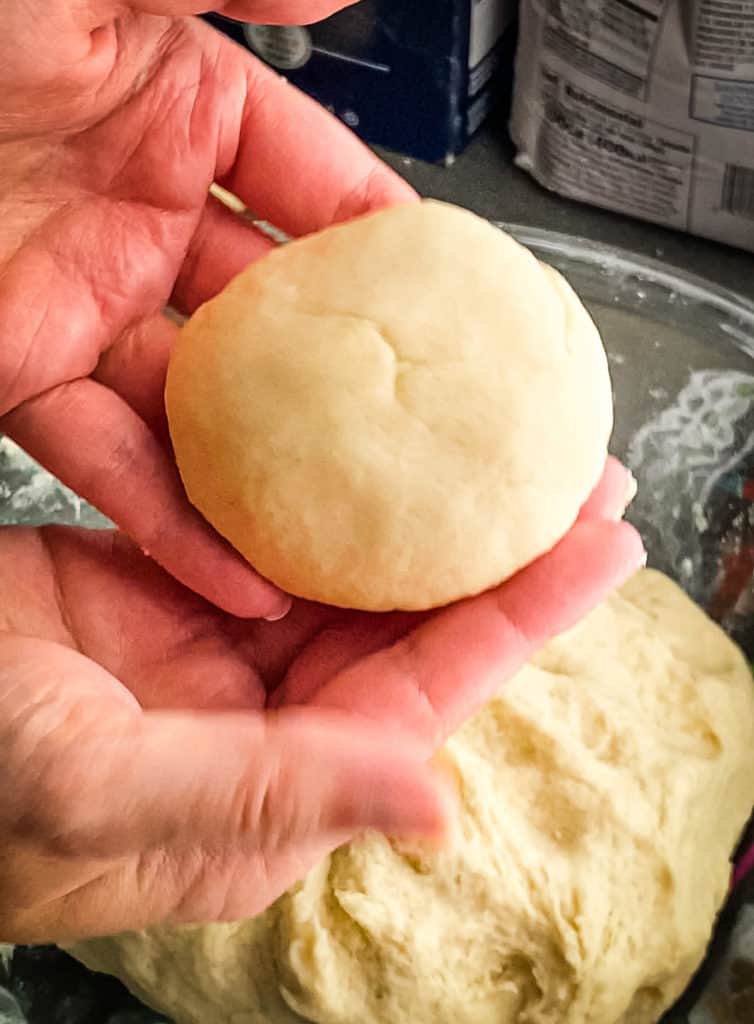
Set them without touching on a floured board or countertop to rest, and cover them with a clean, damp cloth so that they don’t dry out. They’re going to hang out for about 45 minutes, up to two hours, before we roll them. This lets the gluten relax a little, ensuring our tortillas will be pillowy soft and pliable.
Rolling the tortillas – how to make circles, not cartographic boundaries
One of the hardest things to do when first starting out making tortillas is rolling perfect (or near perfect) circles. It will probably take you a couple of batches to start getting them right, so don’t fret! Tortillas shaped like New York State taste just as good as the perfectly round ones. <3
To give yourself the best chance of circular success though, follow this process:
1. Lightly flour your work surface. Use your hand to rub it all around in a 12″ circle where you’ll be rolling.
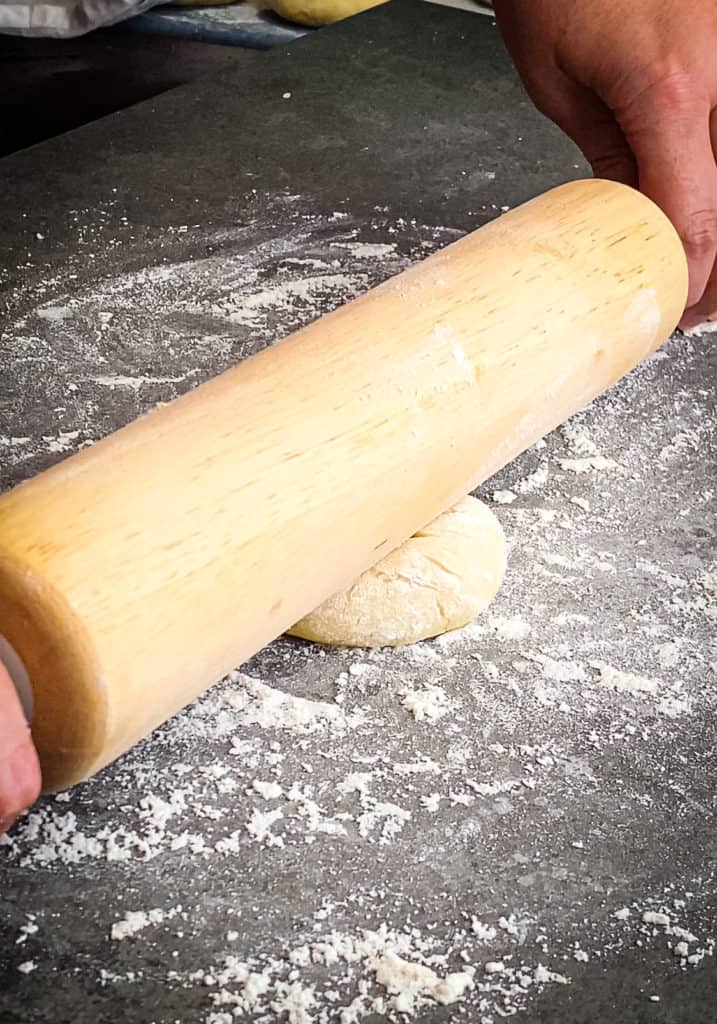
2. Lightly rub flour on your rolling pin.
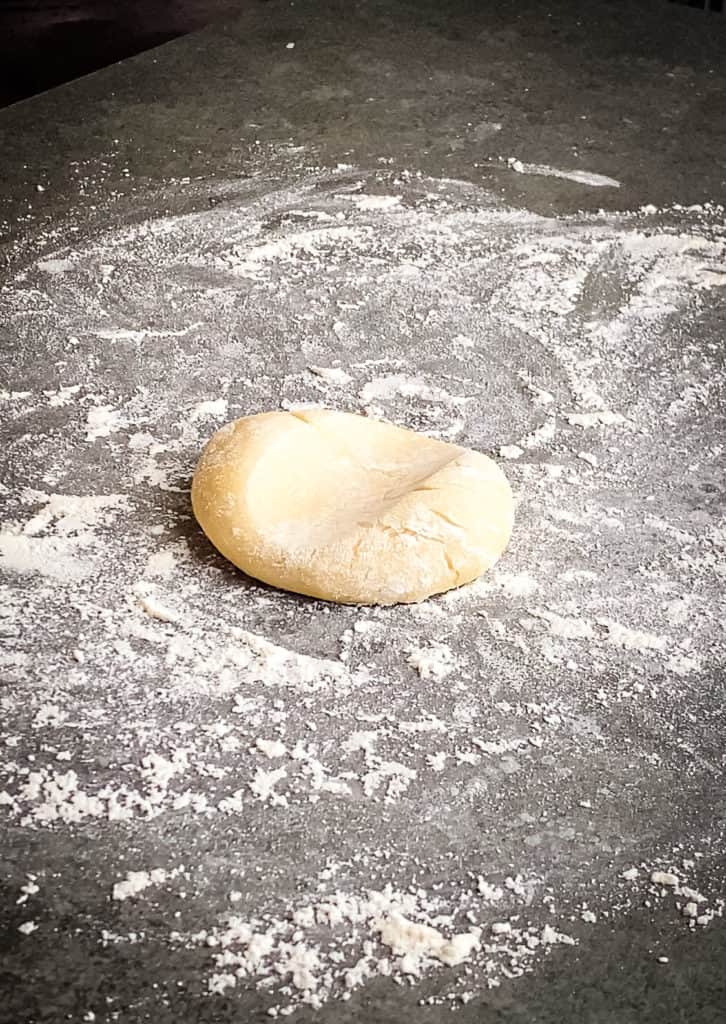
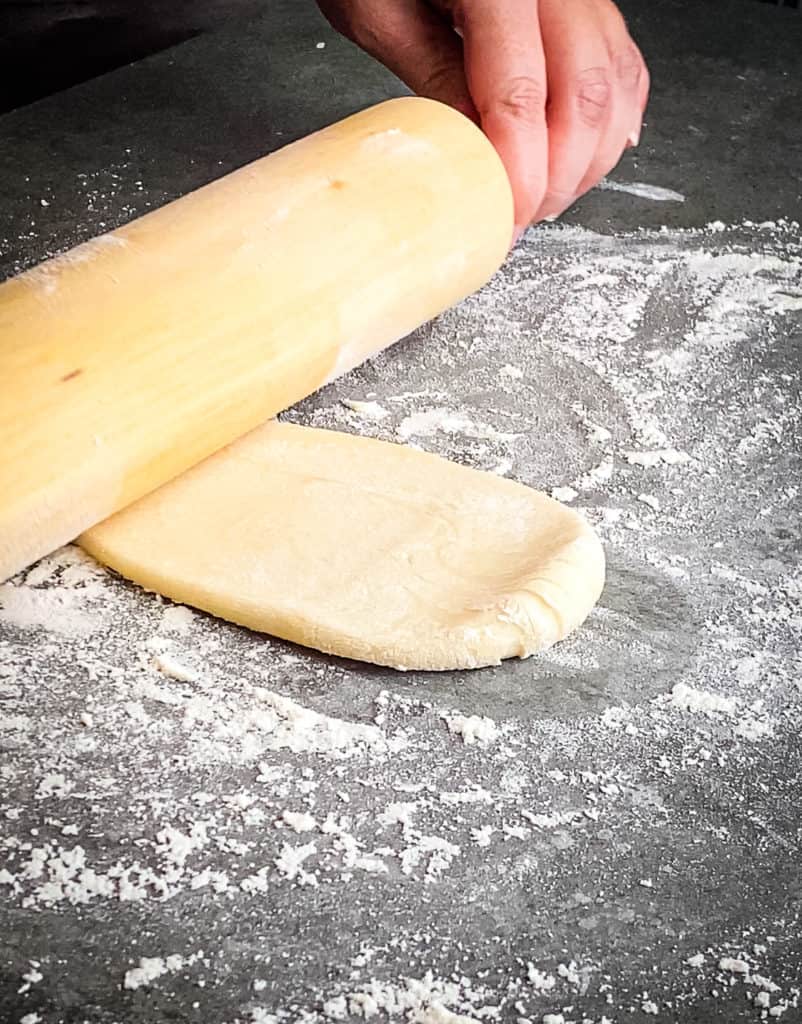
3. Put a testal down into the middle of your floured area, and pat a small amount of flour on top of it.
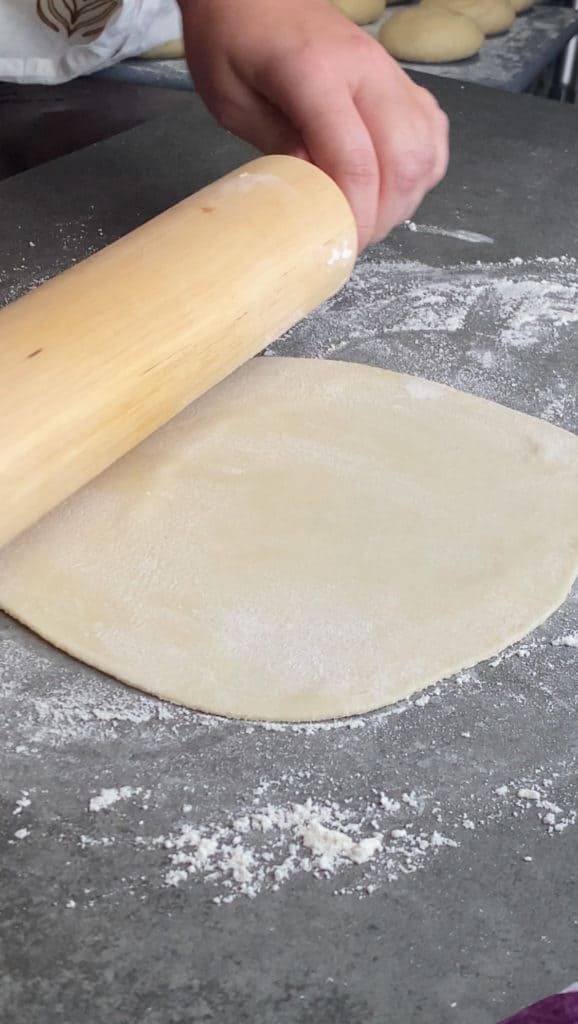
4. Press your rolling pin down into the middle – the equator – of your testal. Roll upwards, stopping just shy of the edge of the dough.
5. Pick up your rolling pin and set it down at the equator again, but this time roll downwards. Stop just before the outer edge of the dough.
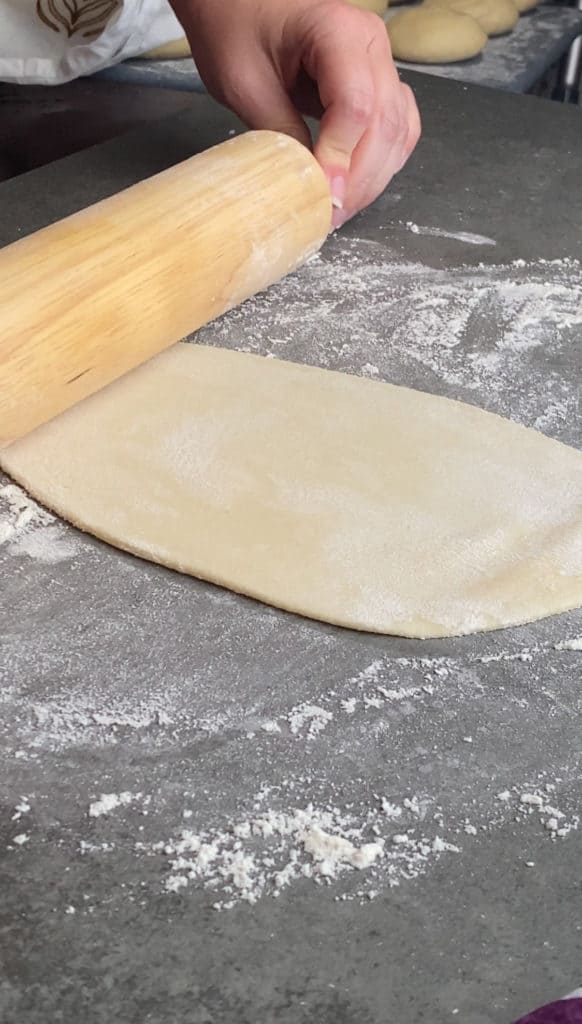
6. Pick up your dough and turn it 90 degrees. Add a little flour to the tortilla if it’s getting sticky.
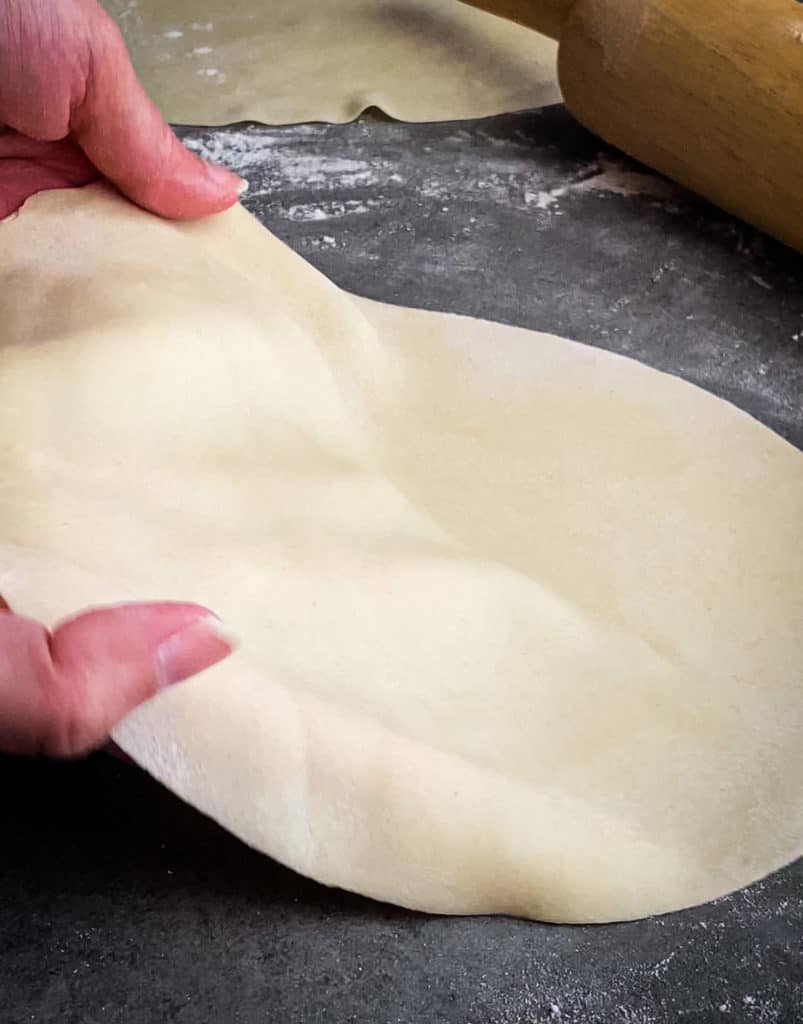
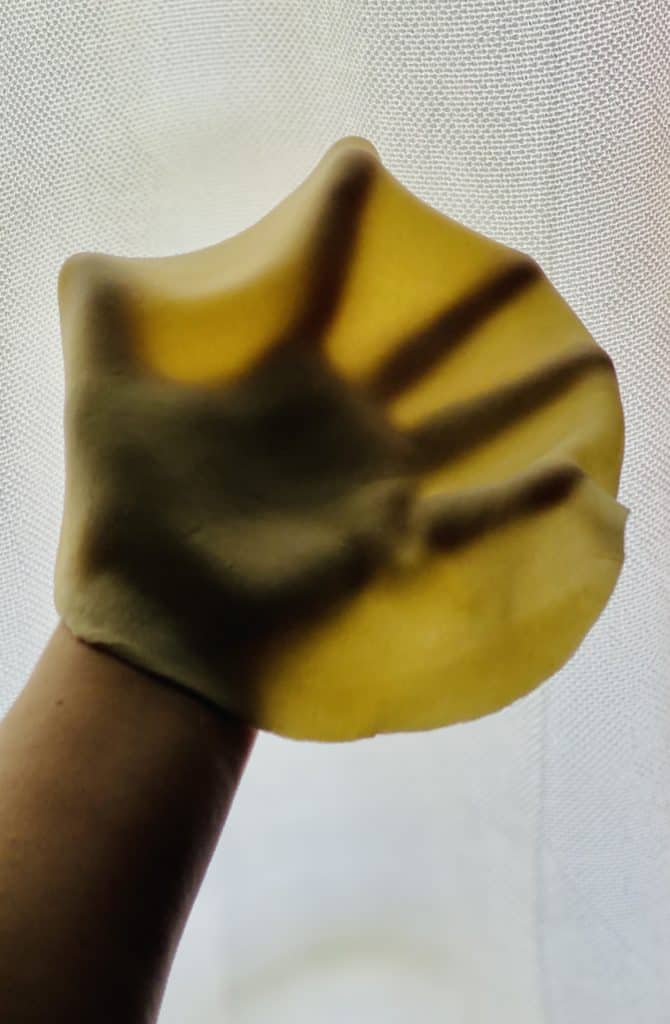
7. Repeat steps 4-6 until your tortilla is round and until they’re thin enough that you can see a gentle glow through them when you hold them up to the light. They should feel like silk if you drape them over your hands. If they wont stretch at all when you roll, you might need to let the testales rest for another 10-15 minutes.

8. Repeat the process for all of your testales. For easy mode, you can stack them with parchment paper separating each of the raw tortillas to await cooking. Don’t let any of the raw dough touch any raw dough from other tortillas or they will stick together forever!
For hard mode, pop the freshly rolled tortilla into a preheated skillet or griddle while you roll the next one. This is a dangerous dance, but the one I prefer.
Cooking the vegan tortillas
1. Preheat a heavy bottomed pan or cast iron comal (skillet/griddle) over medium to medium high heat. You want it to be hot before you throw a tortilla on it.
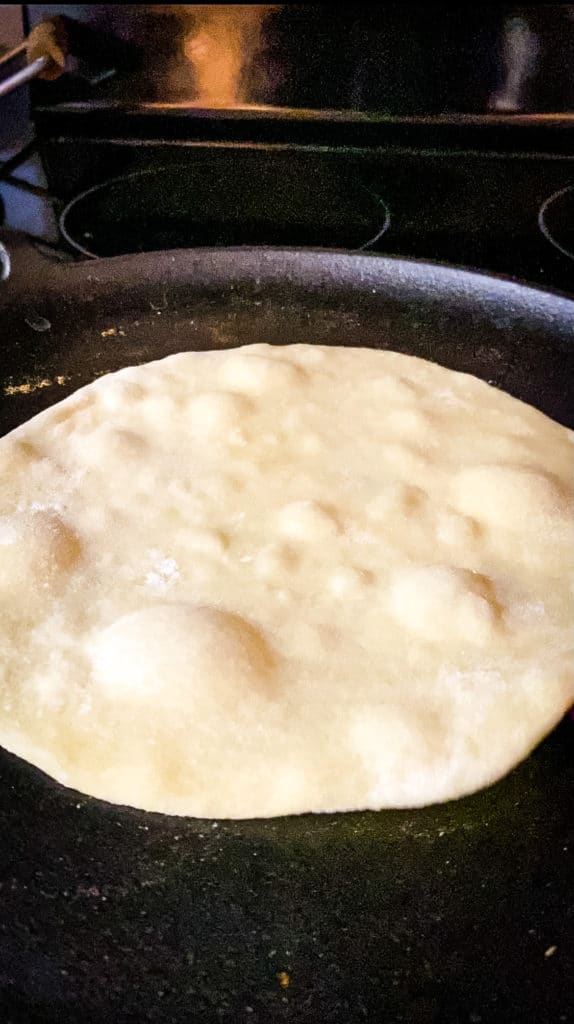
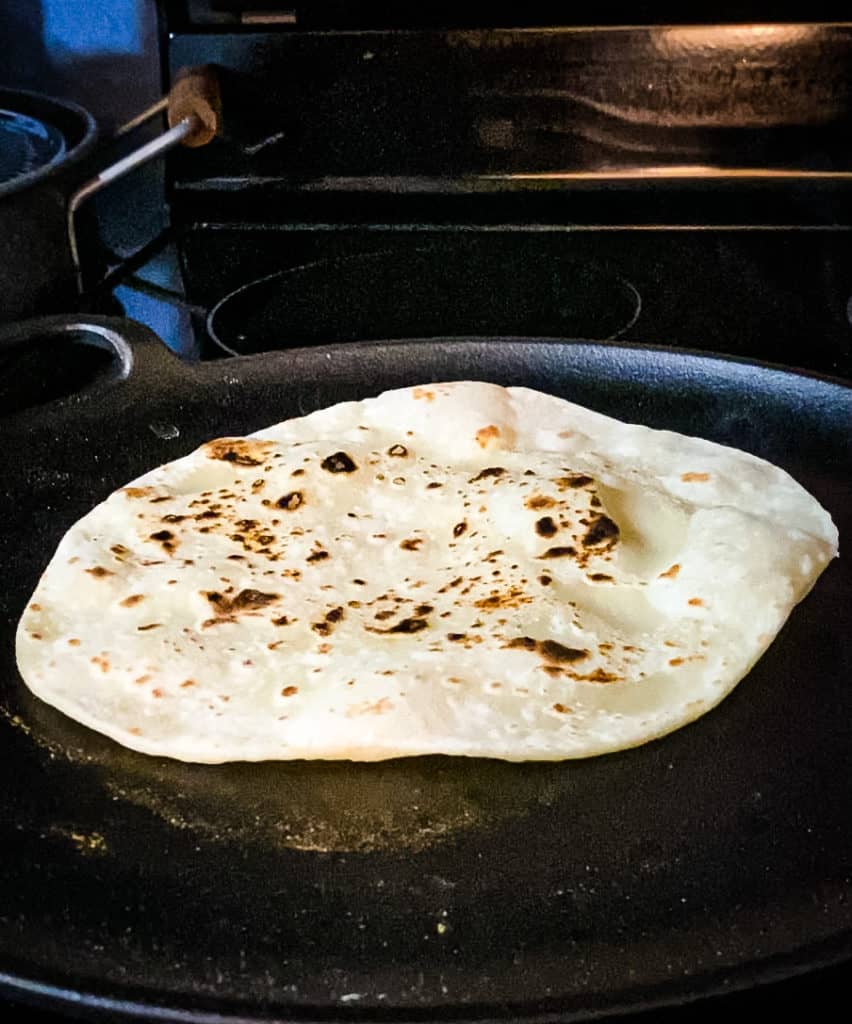
2. Gently place a raw tortilla onto your hot pan. It will immediately lighten in color, shrink a little, and start to form bubbles.
3. If you’re playing on hard mode, start rolling your next tortilla now.
4. After about 30 seconds when there are plenty of bubbles, flip the tortilla. If it has light brown spots and lots of bubbles, the heat is perfect. If it’s starting to blacken, turn the heat down. If you don’t have brown spots or bubbles, turn the heat up a little.
5. If you’re on hard mode, get back to rolling the next tortilla.
6. The tortilla in the pan should start to get even more bubbles. After 30 seconds, flip again.
7. If you’re an adrenaline junkie on hard mode, finish rolling your next tortilla.
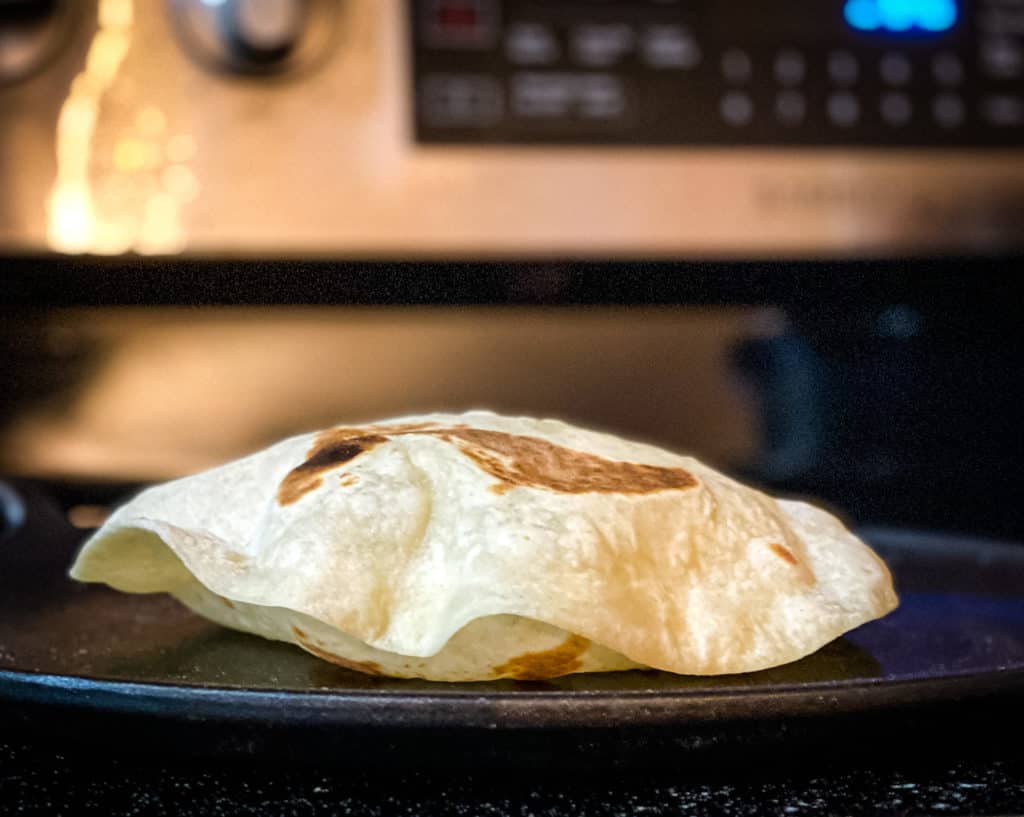
8. After about 10-15 seconds, your tortilla should puff up with pillows full of air. In Mexico, they would tell you that means you can now get married. Congratulations! If it doesn’t puff up at all, you probably need to roll your tortillas thinner.
(Thanks to one of my followers for reminding me that folks will also tell you it means that your mother in law loves you if the tortilla puffs up! I haven’t made them with anyone else since before I got married, so I forgot all about that. My wonderful suegra does love me very much, though!)
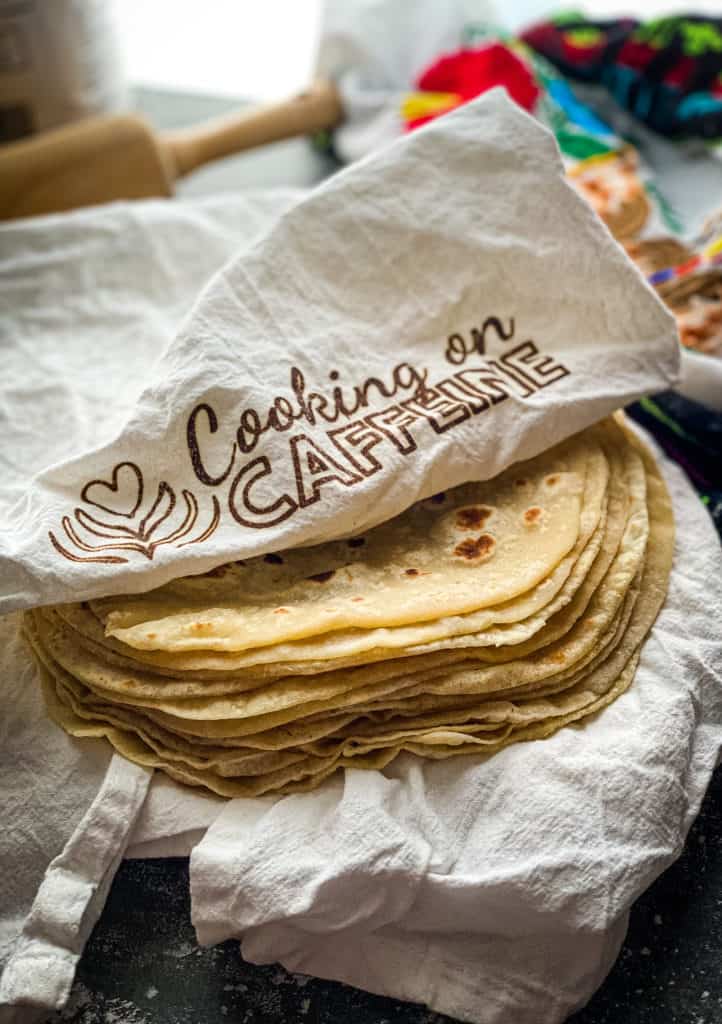
9. Remove your tortilla from the heat and put it on a clean kitchen towel or t-shirt (my favorite, because where the heck did all my kitchen towels go?!) and fold the cloth over on top to keep them nice and toasty.
10. Repeat these steps with all of the remaining tortillas.
How do I store my homemade vegan tortillas?
In your belly. 😀
If you have any extras after eating your fill though, or you want to give them as gifts, you can store them in a gallon sized ziplock bag or large tupperware at room temp for a day or in the refrigerator for up to five days.
If you need to keep them longer than that, just make sure to separate them with parchment paper before freezing them.
What about reheating the tortillas?
You can pop them briefly in a hot pan like when you first cooked them, but flip them constantly until they’re hot. They will burn easily!
My personal preference is laying them on top of whatever I’m cooking and popping a lid on top. The natural steam will soften them back up and make them just as good as fresh!
What can I use my tortillas for?
This seems like a really silly question to me but Google really wants me to answer it.
Let me count the ways…
- Eat them fresh off the griddle with a schmear of your favorite [vegan] butter. This is the most traditional way to eat them for anyone lucky enough to have a Mexican mom or abuela making tortillas in the house. <3
- Use them for tacos
- Use them for burritos
- Use them for quesadillas
- Make some wraps
- Dip them in my choriqueso
- Fry the raw tortillas instead of cooking on the griddle and then toss in cinamon sugar for buñuelos
- Cut into strips and bake or air fry until crisp for a homemade version like “pita chips”
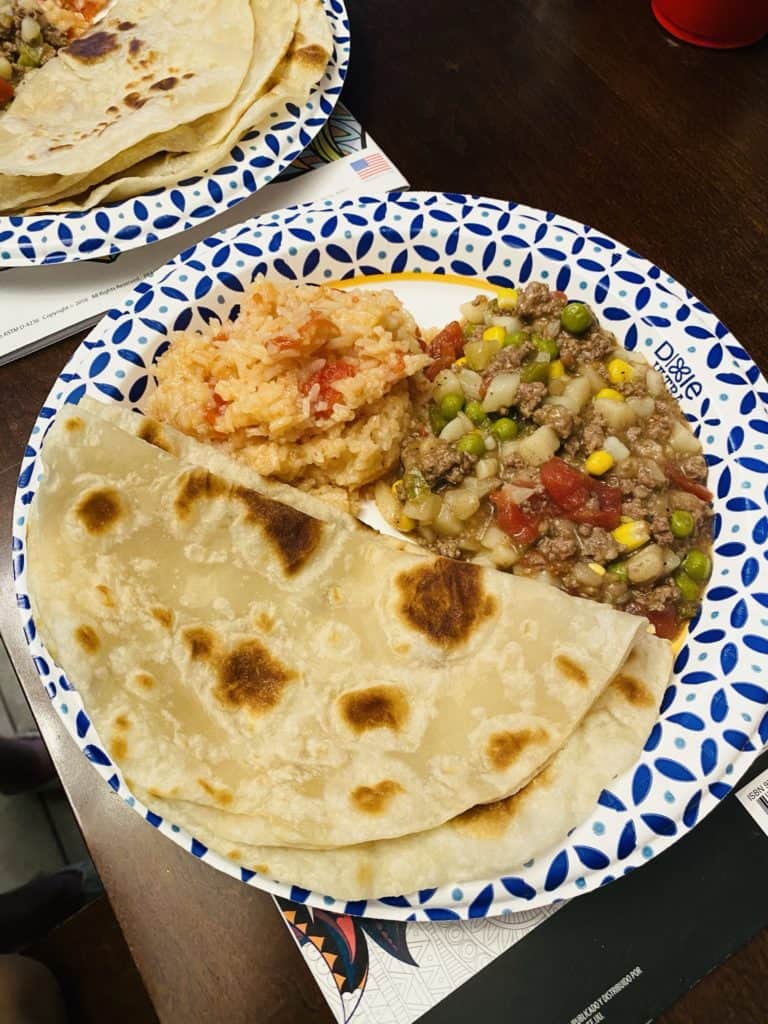
- Use them in place of forks and spoons like they were meant to be! A couple of great authentic recipes to try them with are this amazing picadillo by my friend Conflicted Vegan and authentic mole Poblano by Dora’s Table.
Thanks for stopping by!
Did you find this post helpful? Are you confident when it comes to measure-less baking, or do you neeeeed the grams and cups?
I hope this has inspired you and you get to enjoy some of the most authentic, delicious tortillas on your side of the border. Let me know if you make some!
May you and your coffee both be strong,
Meggan <3
Video:
Recipe:
Homemade Vegan Flour Tortillas

Homemade vegan flour tortillas that are pillowy soft, easy to make, and bring the authentic taste of Mexico into your home kitchen.
Ingredients
- Around 3 heaping cups (500ish grams) of white flour
- About 1/2 cup (100ish grams) vegetable shortening
- 1 tspish of salt
- 1-2 cups of very-recently-boiled water
Instructions
- Whisk together your flour and salt in a very large mixing bowl.
- Cut the shortening into the flour mixture until it resembles coarse sand and can be pressed together in your hands.
- Slowly pour the hot water over the flour mixture a little at a time until you can stir it with a spatula and it forms a dough.
- Knead the dough for 2-3 minutes
- Pull off golf-ball-sized chunks of the dough and roll them between your palms to form spheres, and gently press them to form fat disks.
- Lay your disks out on a board or counter and cover with a damp kitchen towel to allow them to rest for 45 minutes.
- Preheat a heavy-bottomed pan or cast iron skillet/griddle over medium to medium high heat and roll out the tortillas on a floured surface
- Place a raw tortilla in the hot pan. After it starts to form bubbles, flip it.
- After 30 seconds, flip the tortilla again.
- Once the tortilla inflates, remove it from the pan and place it inside a clean folded cloth to stay warm.
- Repeat steps 8-10 until all the tortillas are cooked.
- Enjoy hot and fresh, or place inside a zip seal bag for a day at room temp or the fridge for up to five days.
Notes
Please read the blog post for any troubleshooting help or details on the ingredients or steps. Feel free to message me if your question isn't addressed in the post!